

Pack an order
Every step of the pack, from scanning the tote to buying the label and closing the pack.
Packing is the second hands-on stage of outbound. You take a picked tote, verify every item in it, choose a box, buy a shipping label, and close the pack. This guide follows the whole job scan by scan.
Everything here lives under the Packing section of the sidebar. It is warehouse-staff only: the group is hidden from a client's sidebar and every packing URL is gated, so a brand user who opens one sees "Picking and packing are available to warehouse staff only." For the screen-by-screen reference, see the Packing manual.
Before you start
A pack session only starts from a picked tote. That means a tote in the In Use state, assigned to an order whose lines have been picked. In practice this is the tote that came off a finished pick. Have it in hand before you scan.
At a bench with a camera, the pack is recorded from your tote scan to Complete Packing. You do nothing extra. What the badge above the session means is on Pack video.
Two screens, one job
The sidebar offers two ways to pack:
- Pack Order — a four-step stepper (Scan Tote → Verify Items → Select Box → Label). This guide follows it, and the screenshots are from it.
- Pack Station — the same steps on one screen, built for a tablet or a scanner-only bench. It adds a Weight (lb) field with USB-scale capture, on-screen action barcodes, and the Short button, which is the only way to ship a partial parcel. It is also the screen that announces an admitted partial shipment: its header reads "Ships later — 2 of 5 lines backordered: …", and there is nothing to declare — the owed lines ship in a later cycle. The order of operations below is identical; see Pack Station for what is different on that screen.
When a tote should not be packed
Sometimes the tote scan is intercepted before you verify anything:
- Order fulfilled externally. If the order was already fulfilled somewhere else, scanning its tote shows an Order Fulfilled Externally card. The tote is flagged for put-back. Press Acknowledge & Continue and route the tote to put-back instead of packing it.
- Order cancelled. The same card reads Order Cancelled and tells you to give the tote to a supervisor for put-back rather than emptying it yourself.
- Lot recall. A Lot Recall — Remove Units Before Packing card lists the units to pull, with their lot numbers. Set them aside, press I've removed these units, then re-scan the tote to pack the rest.
- A cart of a Bulk Ship batch. An order picked on a cart for a Bulk Ship batch is labeled and packed on the Bulk Ship bench with the rest of its batch, so its tote is refused here: "This order is in Bulk Ship batch … — take the cart to the Bulk Ship bench, or remove the order from the batch to pack it here". Take the cart there, or have a lead remove the order from the batch first. The rule is in the Packing manual.
- Set-aside items. If only some units in a tote belong to an open put-back task, a "Set aside — awaiting put-back, do not pack" banner lists them on the Verify screen. Do not pack those.
- Order changed in the channel. If the merchant edited the order after it was picked, a warning on the Verify screen lists what changed. Each open change gets a warning of its own, so an order changed twice shows two. Packing as-is is allowed — the channel is only told what actually ships — but if unsure, set the tote aside and check with a lead. A change that holds the order puts the order on hold instead, so its scan is refused (see When the order is on hold). Not every such warning is an item change, and each one says which it is instead of counting zero changes: when the channel put a fulfillment hold on the order mid-pick it reads "The sales channel put a fulfillment hold on this order" and asks for the other judgement — "The merchant asked to wait." Units moved between locations, a refund before shipping, and a return the channel cancelled after receipt name themselves the same way, and so do two notes that aren't channel edits: "Check the manual postage: …" when the order was moved to another warehouse (by Reprocess Rules, or by the routing rules running again) with a postage choice made by hand at the old one, and "Not placed where routing chose: …" when Shopify wouldn't move a routed order's fulfillment orders to match. It is a warning in every case, never a stop.
When the order is on hold
A held order is never packed. A hold is a stop put on the order, by a person or by the system. Set the tote aside until someone resolves the hold.
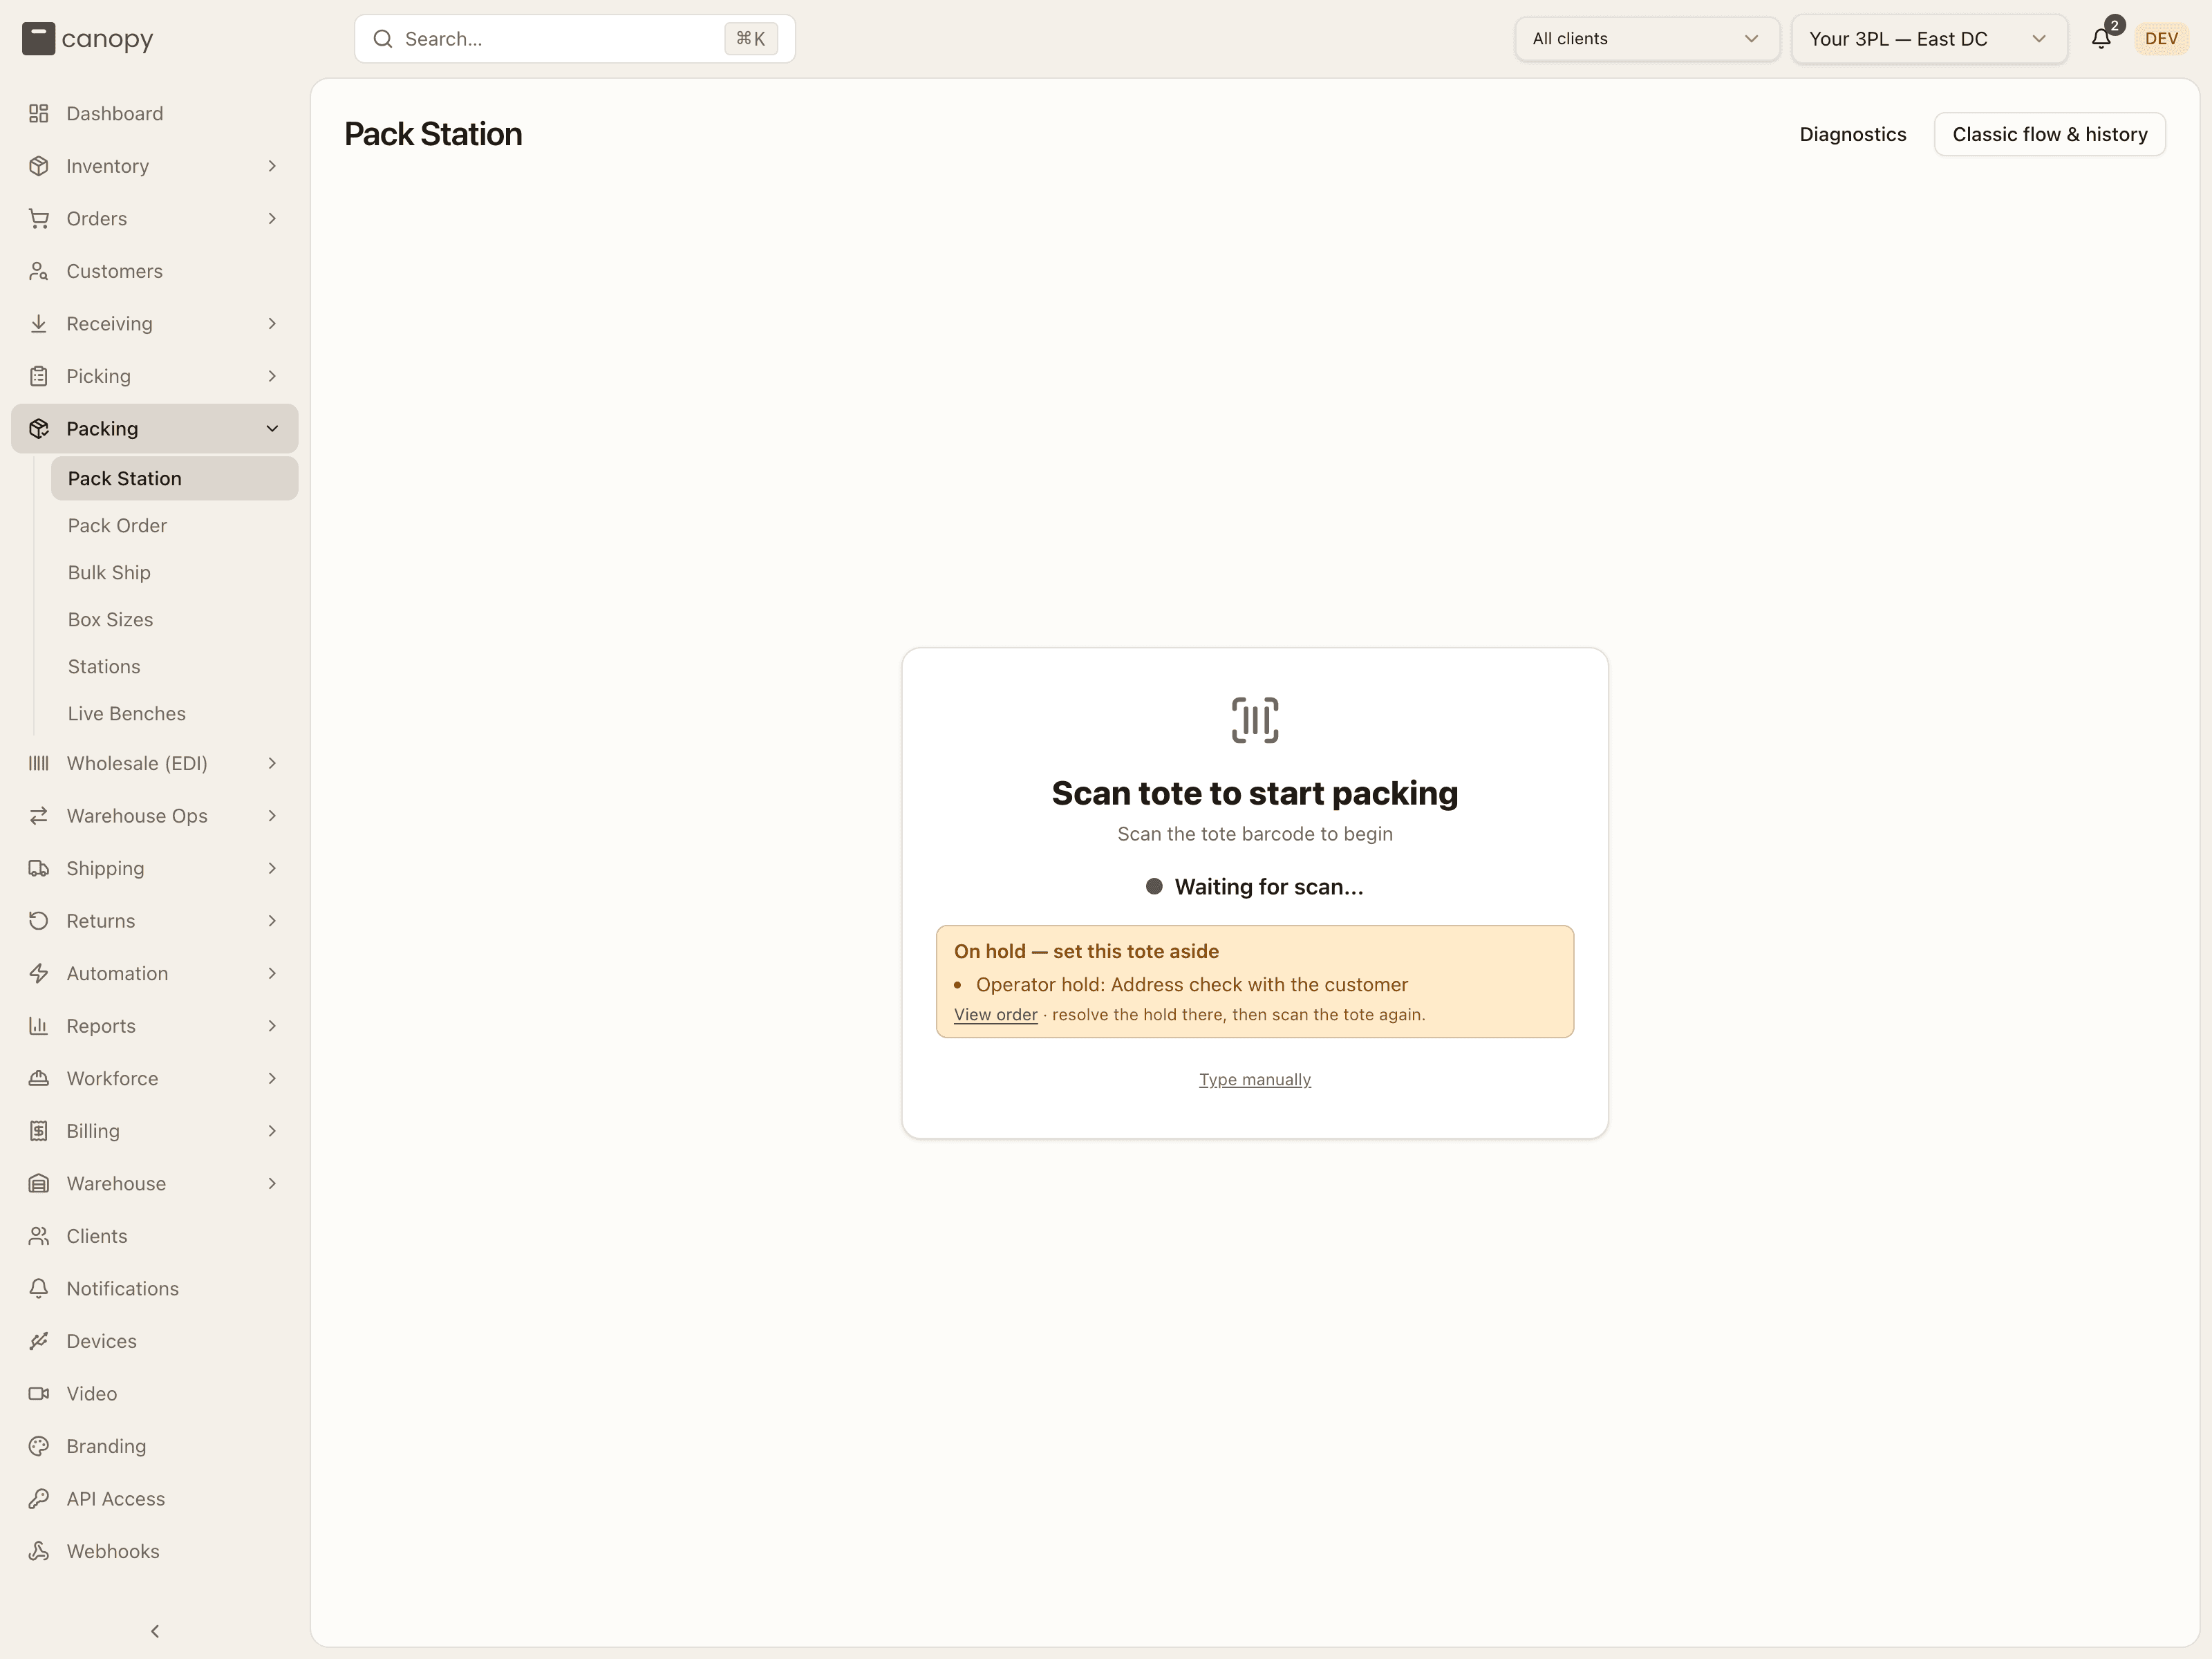
If the order was on hold before you scanned, the scan is refused. At the Pack Station a yellow card appears, headed On hold — set this tote aside. It lists each reason the order is held, and View order opens the order over the station: "resolve the hold there, then scan the tote again." On Pack Order the scan shows the same refusal as a red line: "Order is on hold (…) — resolve the hold before packing it". No pack session opens either way.
If the hold lands while you are packing, the Pack Station replaces the session within ten seconds with a card headed On hold — set the tote aside. It reads "CC-… was put on hold while you were packing it. Do not buy a label or complete the pack: set the tote aside until the hold is resolved — this card lifts on its own." The scanner stops responding under the card. Press Set aside & scan next tote and set the tote aside. Once the hold is resolved, scan the tote again and the same session opens. On Pack Order there is no card: the next scan, Generate Label or Complete Packing is refused with "Order is on hold (…)" instead. The details are in the Packing manual.
Status reference
The History tab lists past packs with their status:
| Status | Meaning |
|---|---|
| In Progress | Pack started, not yet completed |
| Completed | Order packed and labeled |
| Cancelled | Pack cancelled, order returned to picked — the row stays in History even after the order is packed again |
Related screens
Packing has a few supporting screens covered in the manual rather than this walkthrough:
- Box Sizes — the per-client box catalog.
- Packing Stations — stations and their label printers.
- Bulk Ship — picking, packing and labeling a batch of identical orders together.
- Devices — pairing a USB scale with a packing workstation.
How to pack an order
Open Pack Order
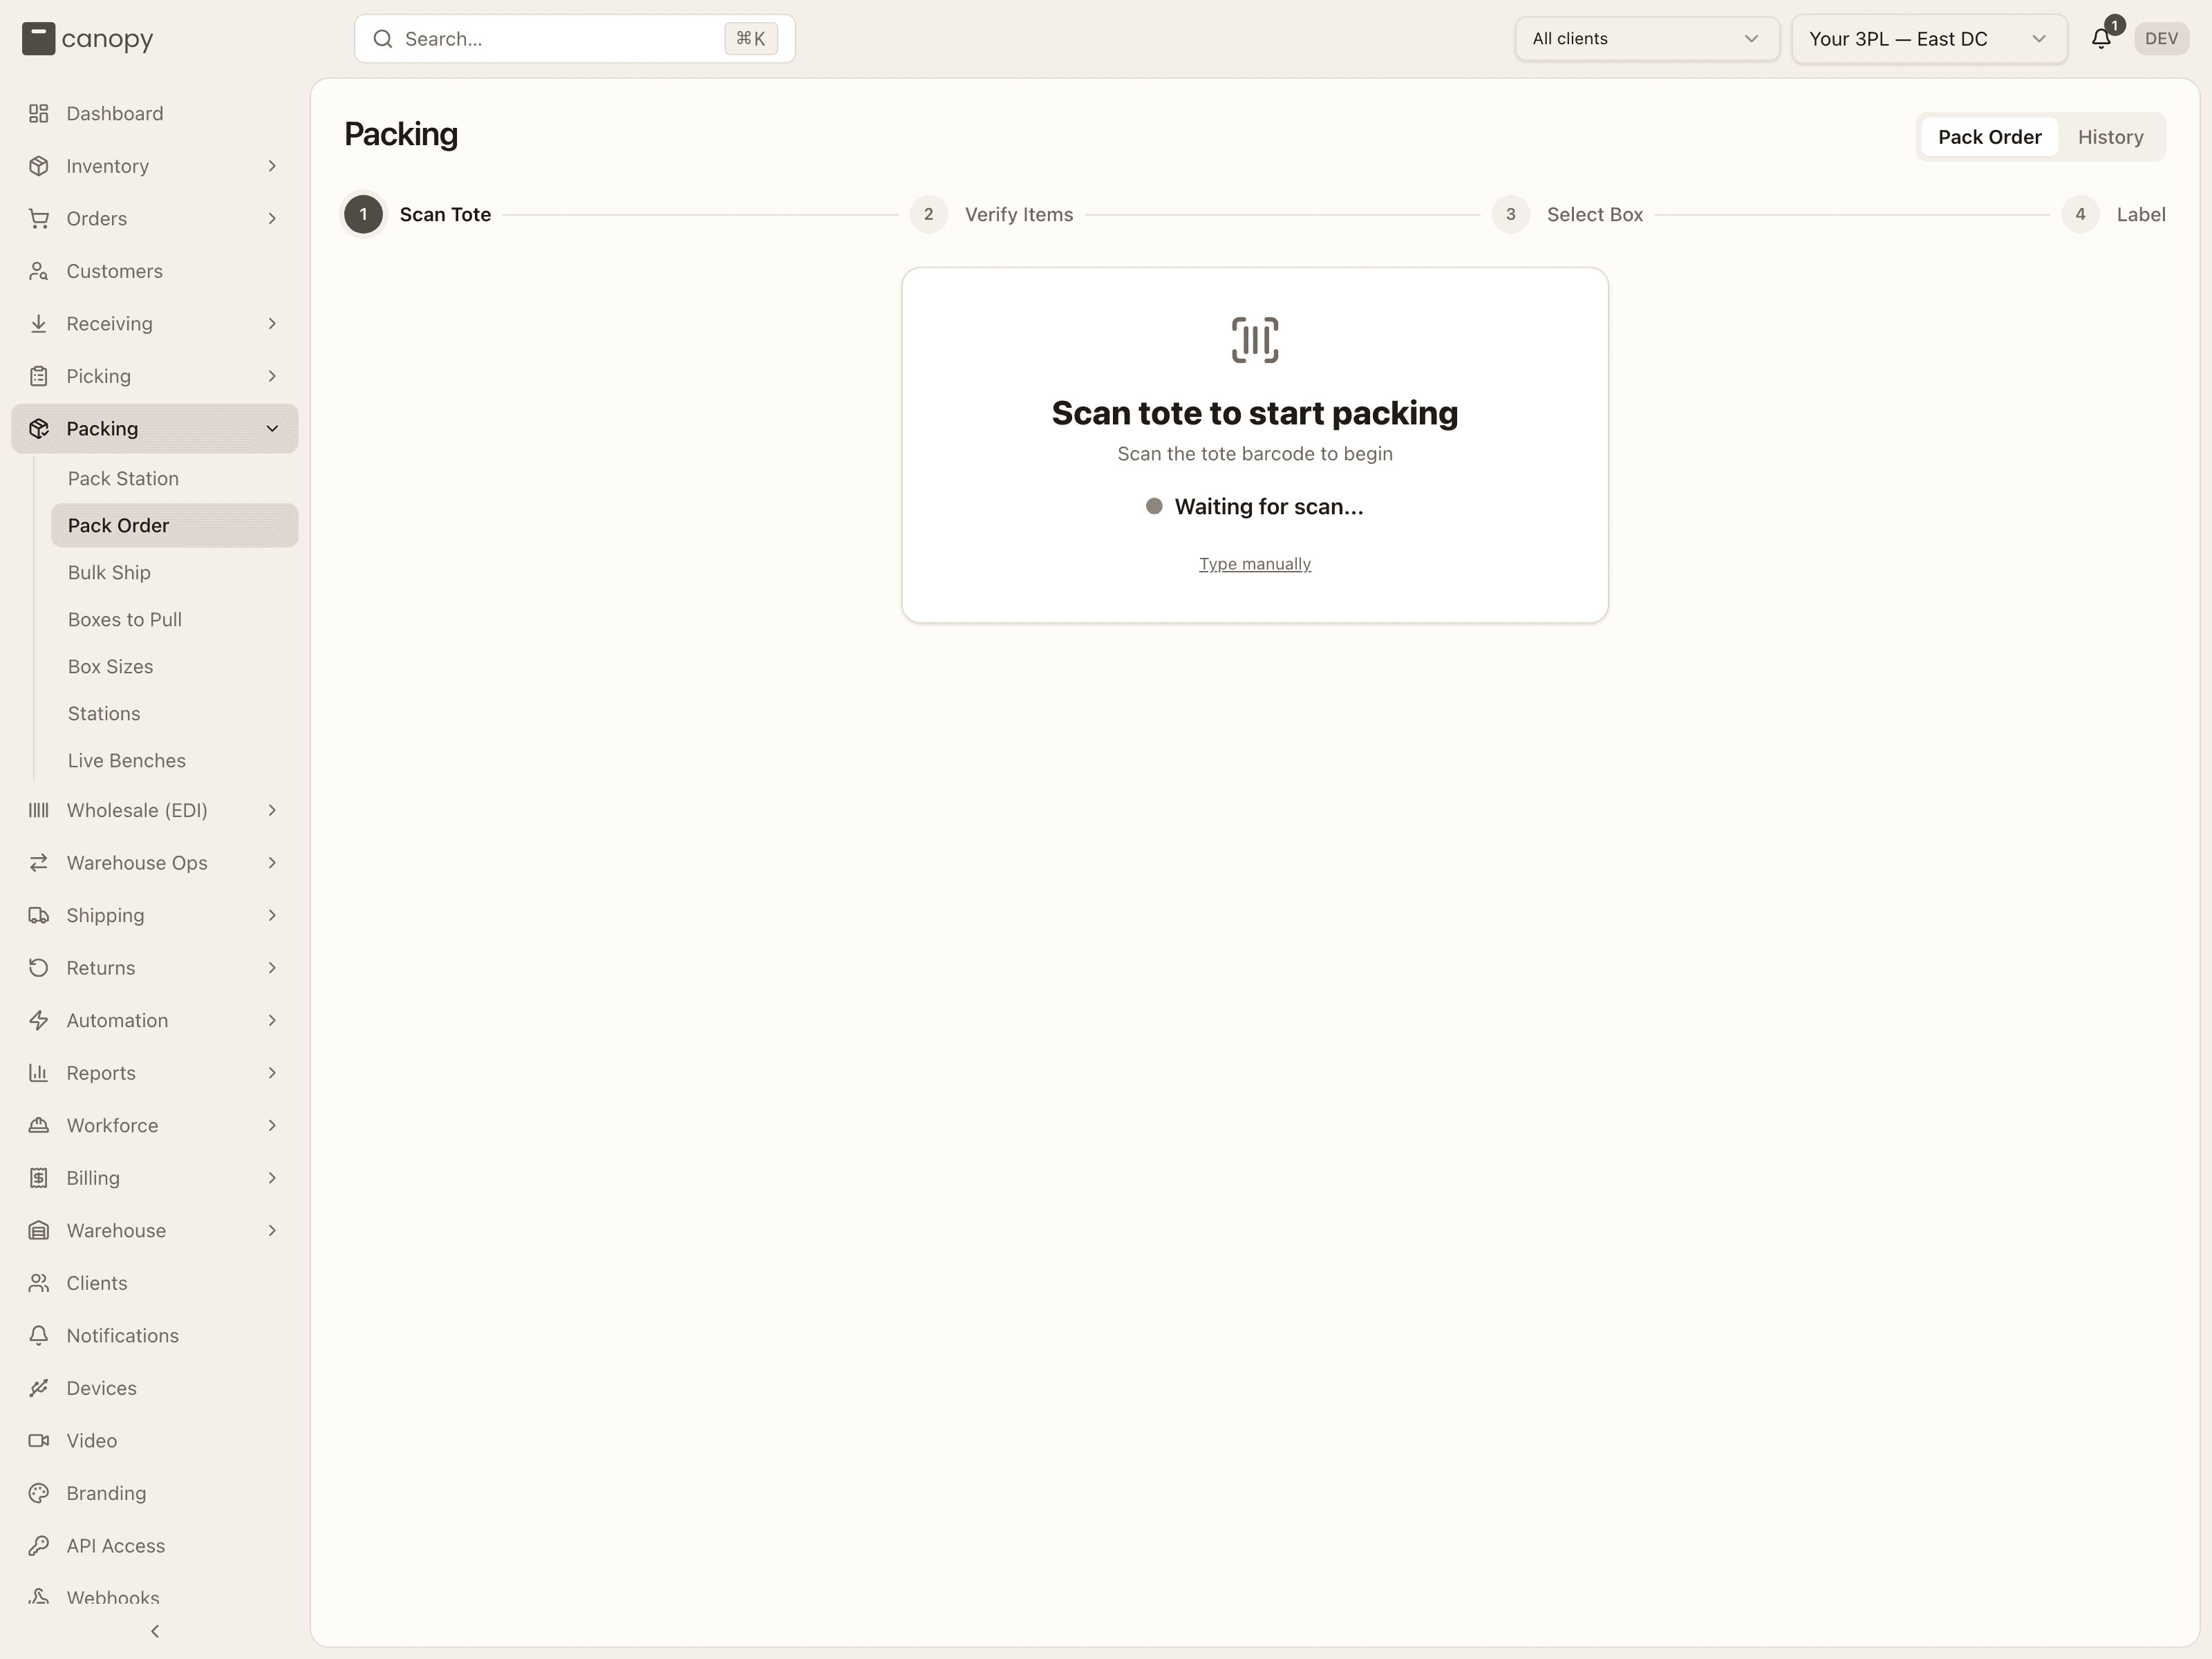
Open Packing → Pack Order. The Pack Order tab is selected and the screen waits on "Scan tote to start packing".
Scan the tote
Scan the tote's barcode. If a barcode will not scan, use Type manually and type it in. Scanning pulls up the order behind that tote and moves you to Verify Items. If the scan is refused with "Order is on hold (…) — resolve the hold before packing it", set the tote aside: see When the order is on hold.
Check the address and the notes
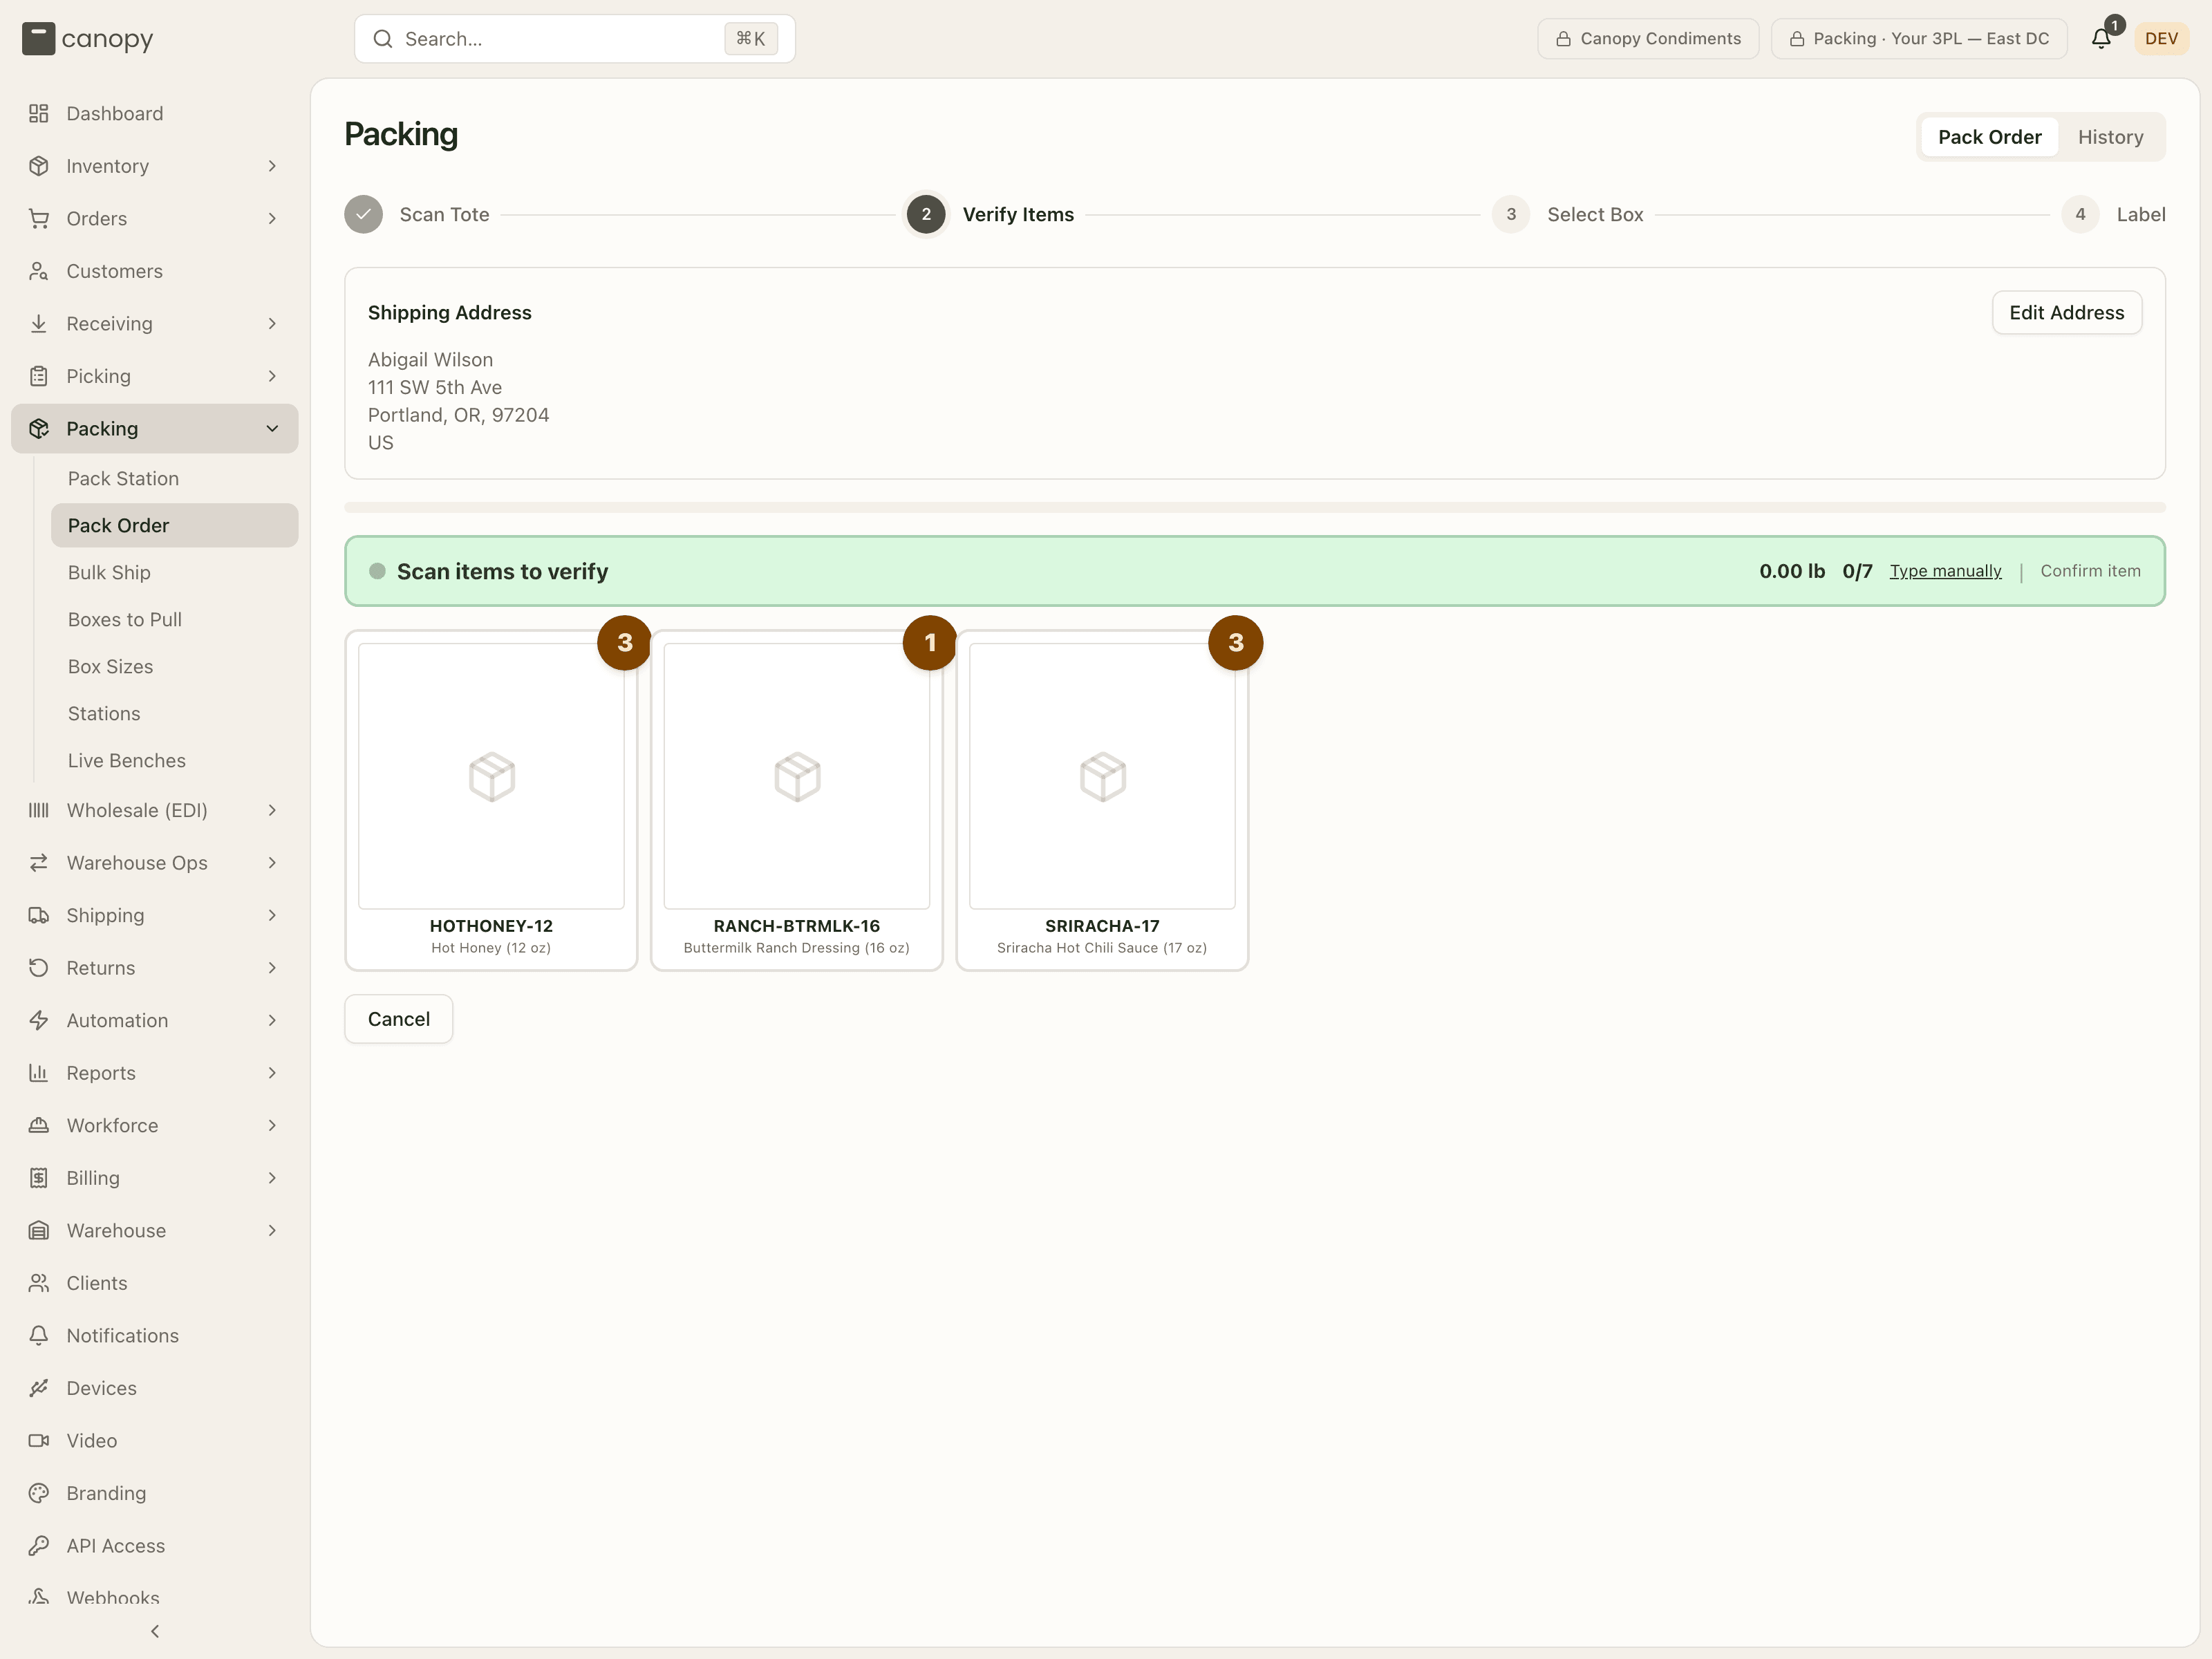
Before you scan an item, read what sits above the item cards: the Shipping Address (press Edit Address now if it is wrong — fixing it here is easier than at the label step), any Notes for Packer or Packing Instructions, and any warning about put-back units or channel edits (see above).
Scan every item
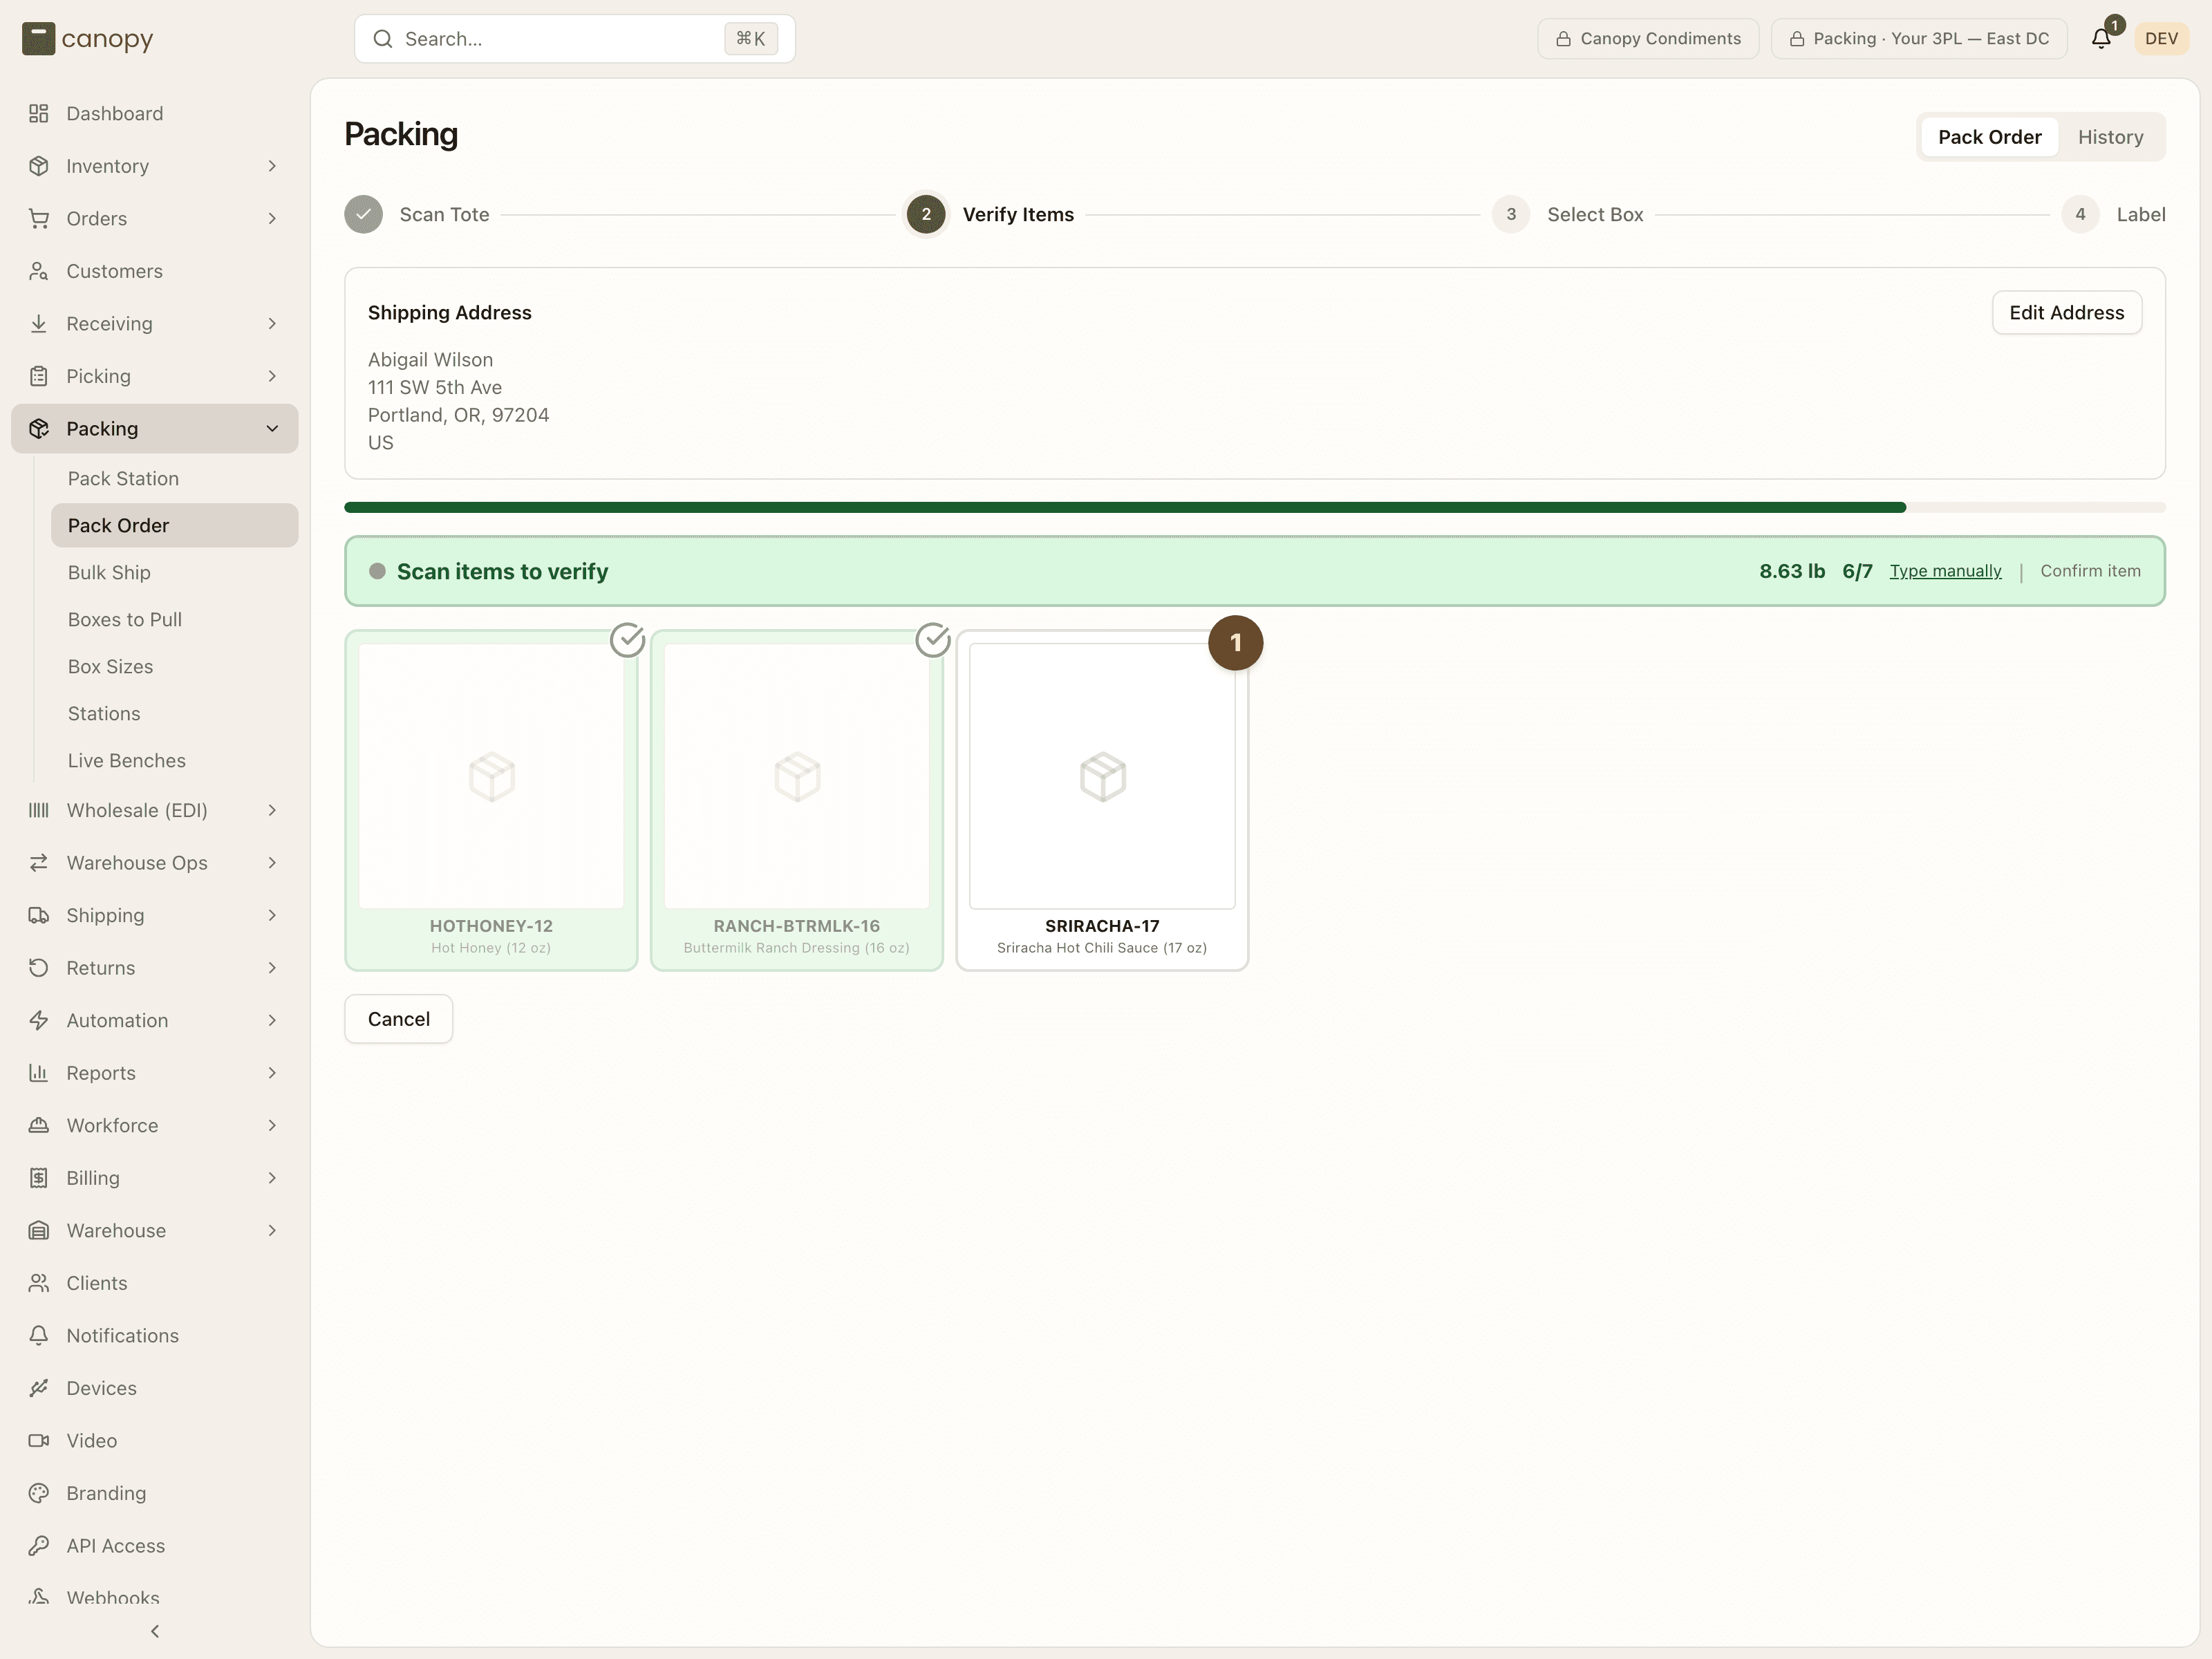
Scan each unit. The green Scan items to verify banner shows the running weight and the verified / total count; each card turns green with a check when its units are all in, and any SKU still waiting keeps its orange count badge. If a barcode won't read, Type manually; if a unit has no readable barcode at all, Confirm item verifies the next outstanding one without a scan.
A few things to know here:
- Scanning a SKU that is already fully verified errors. Once a SKU is complete it is no longer pending, so a re-scan reports "No pending item matches barcode". That is the guard against overscanning.
- Kit items are grouped under a dashed header with their components listed.
- Cancel voids the whole pack; it shows as Cancelled in History. It is offered until a label is bought — and again once that label has been voided ("This pack's label was voided.").
The last scan moves you to Select Box on its own. (A Continue to Box Selection button appears only if you come Back to this step with nothing left to verify.)
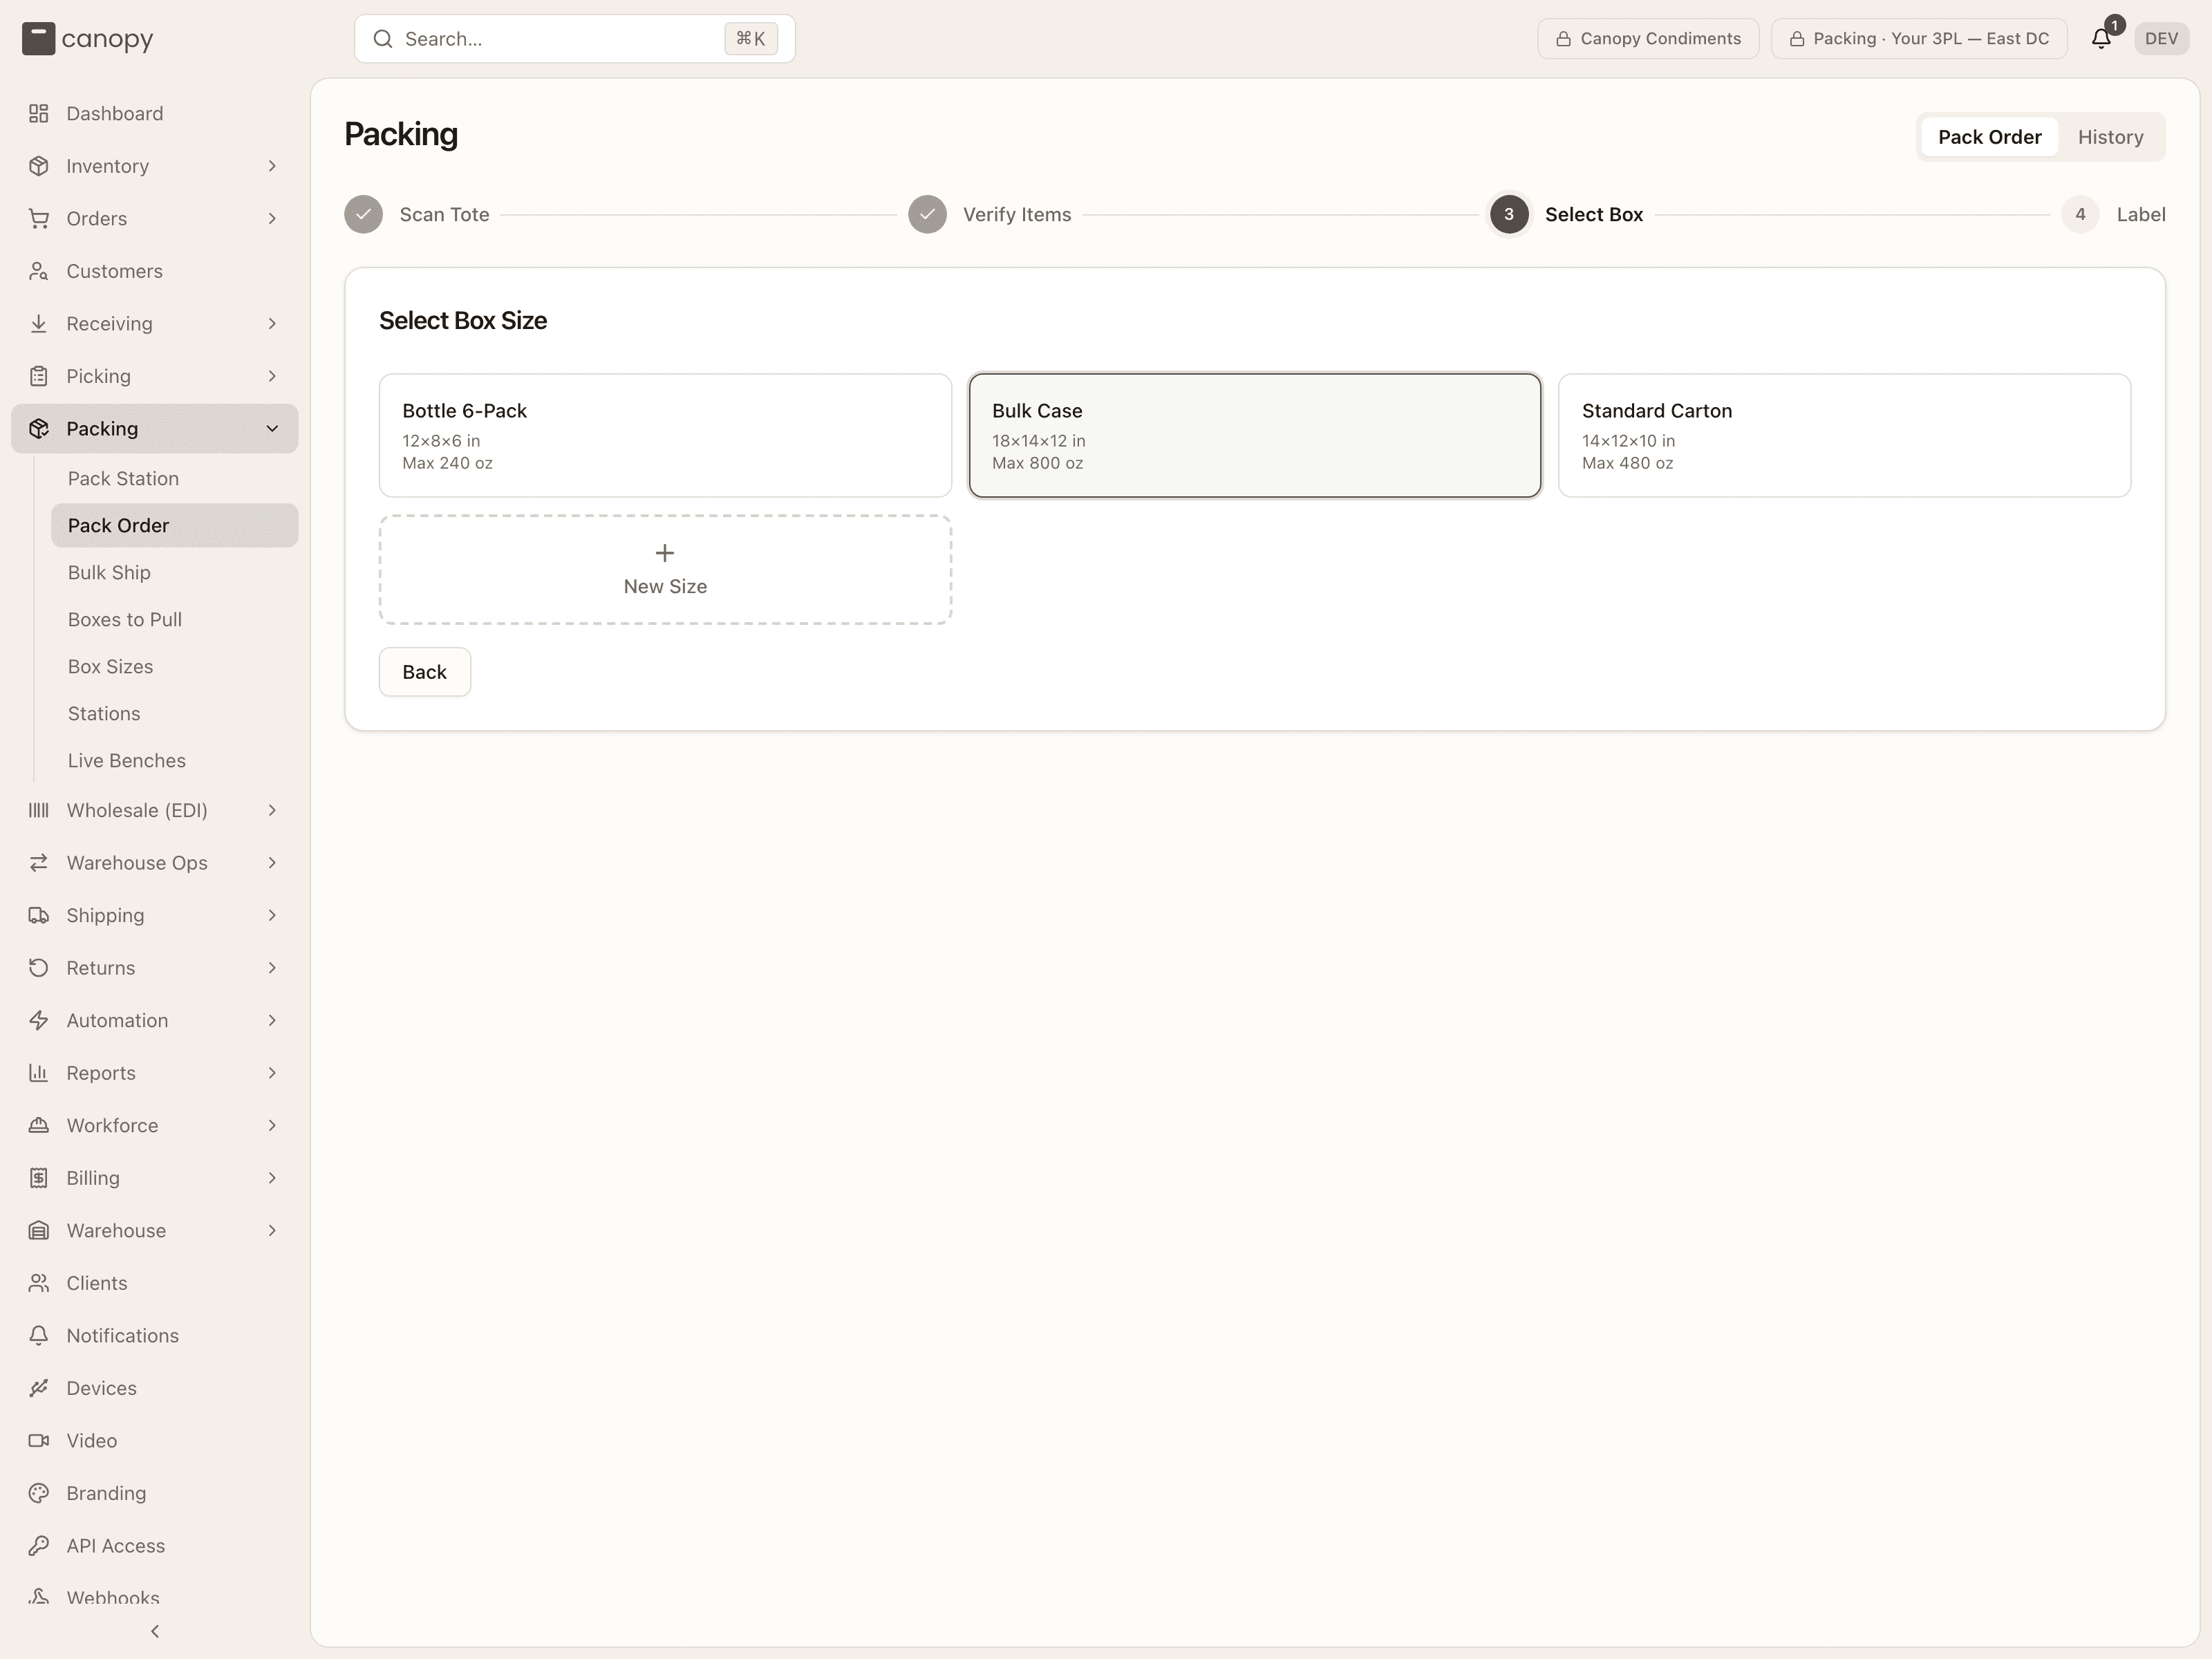
Choose the box
The grid shows the client's active boxes with their dimensions (L × W × H in)
and max weight in oz. The box the system picked — from a Packing
automation rule, from what this order shape shipped in before, or the smallest
box — is already highlighted, and a rule-chosen box wears a Recommended
badge. Tap the box you are using; that moves you to Label.
Need a size that is not listed? Use the dashed New Size tile to add one inline (name, length, width, height, and an optional max weight in oz). If the client has no boxes configured yet, the screen prompts you to create the first one.
Review the label details
The Shipping Label screen shows where the postage came from (for example Shipping method: Express → Postage type: Cheapest Tracked, or a manual / automation override), the chosen box, any signature or insurance the order carries, and the shipping address. Edit Address is available here too.
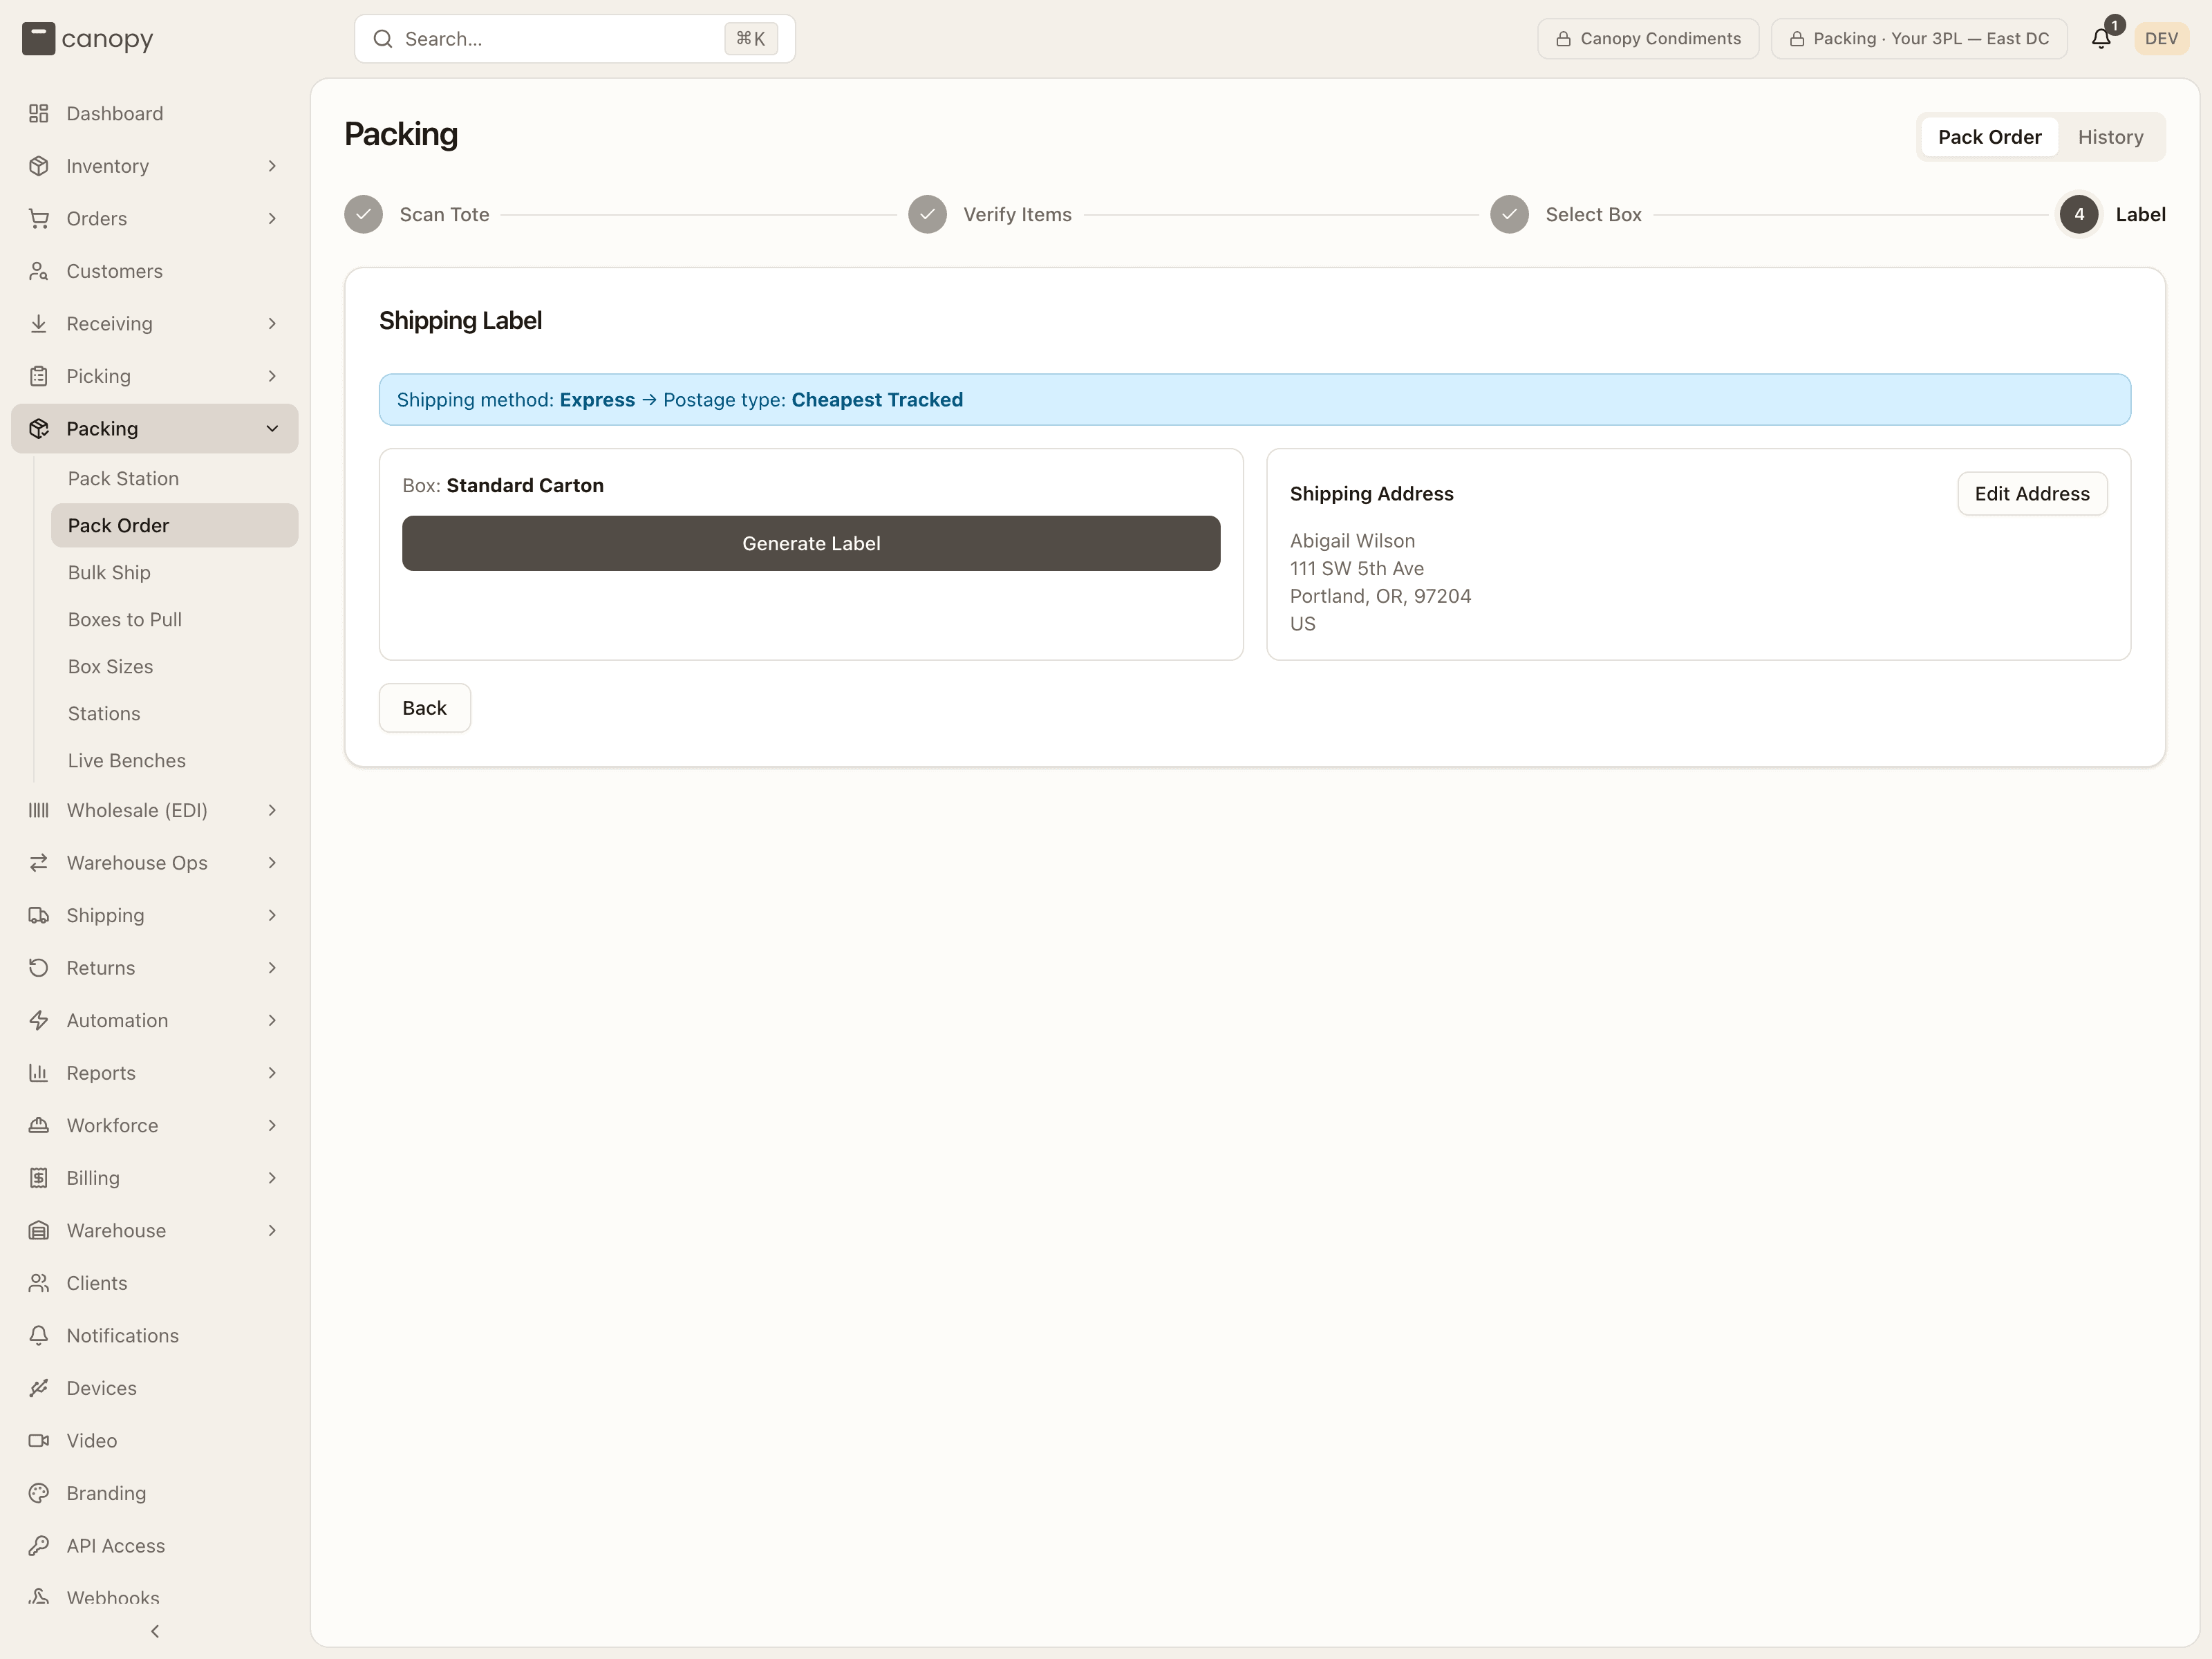
Generate the label
Generate Label appears once the client's carrier accounts and shipping mappings have loaded; the app needs them to know which account the order's saved postage choice buys on. Press Generate Label. The app fetches live rates, prices the saved choice on that account alone, and, for a label at or under $100, buys it straight away and prints it. Over $100 (or if no estimate came back, or the last attempt failed) it pauses on "Estimated shipping cost: $X" with the reason — press Generate Label again to confirm, or pick a specific carrier and service from Or choose a carrier & service and press Use.
If no carrier quoted at all, the screen names each account that refused and the reason it gave. Fix what it names — usually the address or the box weight — and press Generate Label again.
The order's saved postage type is also checked against the carrier account it buys on: the account saved with the choice, or the client's default account when it names none. A service that account does not offer is refused before anything is bought: "Service "…" is not offered by carrier account "…" (…). Update the shipping method mapping or the order's carrier override before buying." An account that has been deactivated, or taken away from the client, refuses too, naming the layer that chose it: "The manual postage override for this order names carrier account "…", which has been deactivated. Update the manual postage override before buying." Picking a rate from Or choose a carrier & service gets past it, since that account just quoted the rate; otherwise ask a lead to fix the mapping or the override. The rule is in the Shipping manual.
Generate Label reaches the carrier
Pressing Generate Label fetches real rates and buys a real label. Only press it when the box and address are correct.
Print and complete
Once the label is generated you see the tracking number, postage type, and Rate + Tax = Total. The label auto-prints and the button then reads Reprint Label; if it still says Print Label, nothing reached the printer — press it, or use Download Label. On a carrier that renders the document after the sale, the button reads Fetch & Print Label and Download Label stays disabled until the file has arrived; pressed too early it says "The carrier is still rendering this label — try again in a minute." Each print is counted on the pack record, so a reprint is never lost: nothing to do on your side. Press Complete Packing. This closes the pack: the order becomes Fulfilled, the tote is released back to Available, and the session resets for the next tote. On the tote of an order others were merged into, a change one of them made in its sales channel can hold the label — the banner above the panels says so, and Generate Label or Complete Packing is refused with "Can't buy a label for CC-A: …" / "Can't complete packing CC-A: …" until the change is acknowledged (Ship as packed) or that order is taken out of the merge.